Racket tutorial - at a couple of people's request:
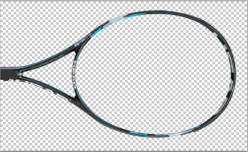
1. Find a flat image of the racket e.g. (
http://img514.imageshack.us/img514/1259/2890fn7.jpg)
2. Cut of the shape of the racket frame (I use the path tool in Photoshop)
3. Paste the frame into a canvass of the correct size (248 x 142 px) I sometimes use the this template, which has a separate layer for the bumper-guard (
http://www.mediafire.com/download/82288 ... cket06.psd)
4. Adjust the size and position of the frame to roughly fit the dimensions of the one on the template.
If you show only the layer you have pasted, it will look something like this:
5. Fill in the areas around the edges of the frame with the appropriate colours (if you consider what you have pasted to be the top of the frame, the areas around are the sides). The sides are mapped to a very narrow area of texture, so do not try to put details here, or it will create an undesirable "bleeding effect" (See my early rackets for examples

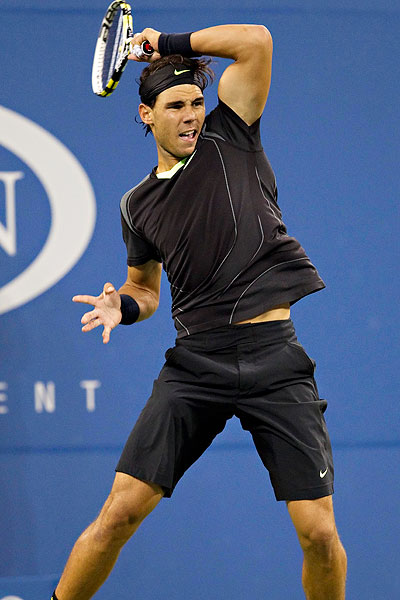
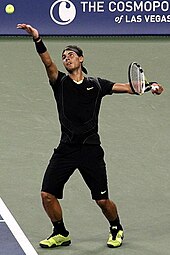
). If you look on any tennis equipment website you should be able to find pictures at various angles if you are unsure of anything from your original.
it should now look more like this:

Note: with TE2013 you can ignore the stencil as it is handled separately.
You will likely need to spend some time making sure everything is in the right place, filled in and not bleeding. Good Luck!


 ... that i forgot to say: Nice Outfit, i really like this outfit, if Sam adds it to his patch, i will use them in my WT, good work


